Stripe Integration
Set Up
Ship It integrates with Stripe using Stripe Connect. After creating a site, select Link with Stripe to connect your account.
After linking, Ship It will display all active, non-tiered, recurring prices and products.
You must select at least one price option for your site to be active.
To enable a trial period for a price, set its corresponding Trial Days field to a non-zero number of days.
Pricing Table
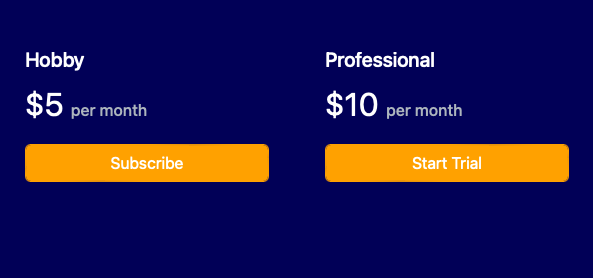
When multiple prices are enabled, Ship It will display a pricing table for users to select a tier.
The Stripe Product's description and unit label are used to customize the table.
If you wish to customize the formatting of the description text (such as bullet points), HTML and CSS can be used.
The tier (Stripe Product name) that the user subscribes to is made available to your app via the x-subscription-tier
header.
Adjustable Quantity
You can further configure the billing experience by allowing users to adjust their subscription quantity.
This can enable approximate opt-in usage-based billing. The subscribed quantity is made available to your app via
the x-subscription-quantity header.
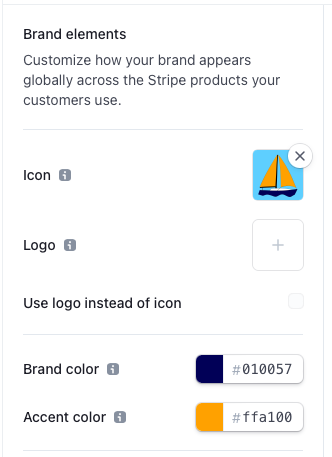
Branding
Branding for Stripe checkout and management screens can be configured through Stripe under your account branding configuration. When multiple prices are selected, Ship It will render a pricing table which uses the brand and accent colors defined in this configuration. When a user completes a purchase, Ship It will render a thank you page using the same colors. Both pages will display the logo if it is set in the branding configuration.
Resulting pricing table appearance: